

Zoo photography brought back my love for wildlife after staying away from these amazing spaces for almost 20 years. The gentle gaze of elephants, playful lemurs, and majestic lions create perfect stories through my camera lens.
Taking photos of animals in zoos comes with its own set of challenges compared to wildlife photography in the wild. You need special techniques and equipment to become skilled at managing depth of field, lighting, and composition while working near enclosures.
This detailed guide will help you take stunning zoo photographs. We’ll show you the right gear to use and the best camera settings that work. You’ll find everything you need to begin your photography experience at the zoo.
Essential Camera Gear for Zoo Photography
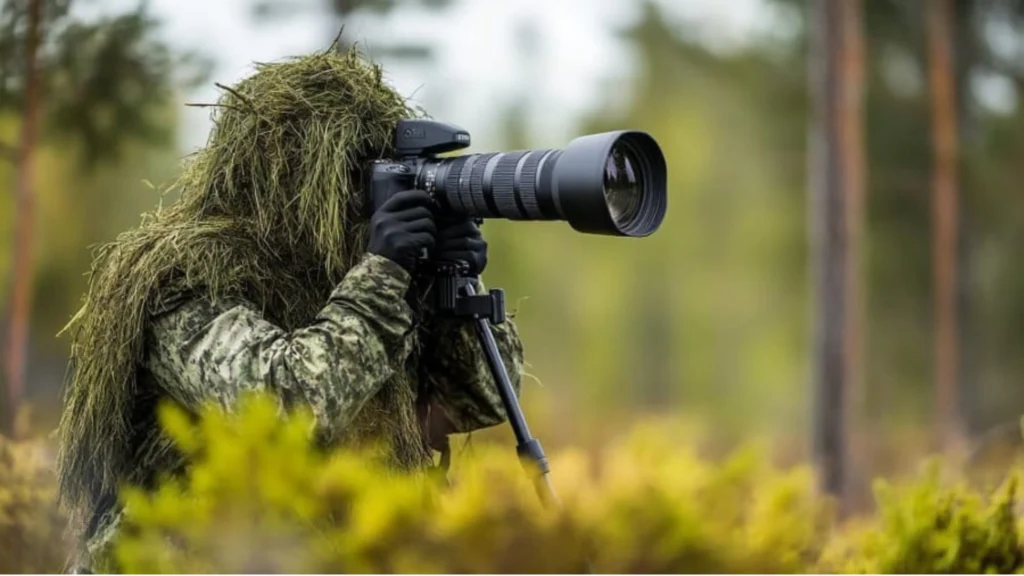
The right photography equipment makes a big difference in capturing compelling zoo photographs. Let me share the gear you need based on my years of experience.
Camera body requirements
A camera body with fast autofocus and high continuous shooting speeds is vital to zoo photography. You need cameras that offer at least 10-15 frames per second burst rate to capture unpredictable animal movements. Good low-light performance matters too since many exhibits have varying lighting conditions.
Zoo Photography: Choosing the right lenses
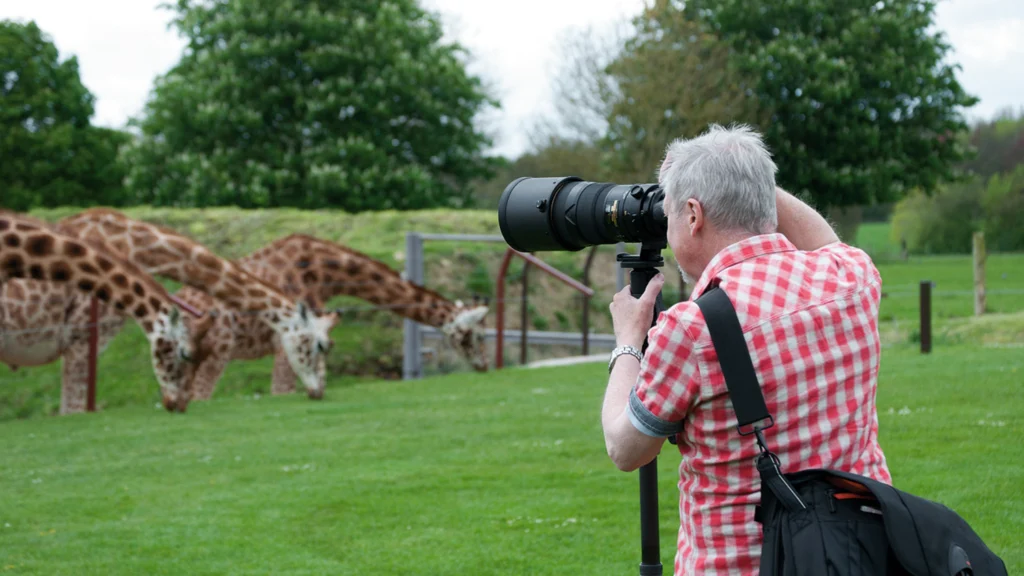
Your zoo photography equipment needs a telephoto zoom lens as its foundation. My testing shows that a focal length range of 70-300mm works perfectly for most zoo situations. You can photograph both nearby animals and those at a distance with this versatile range. A lens with a maximum aperture of f/4 or wider helps create better separation between the subject and enclosure when shooting through wire mesh or glass.
Must-have accessories
The basic camera setup needs several accessories that are a great way to get better zoo photos. A lens hood tops my list because it minimizes glare when shooting through glass. Plus, spare batteries and memory cards help since a full day of shooting can quickly drain resources. A monopod gives you the perfect balance between mobility and steady shots, especially with longer lenses.
Your gear needs protection in varying zoo conditions, so pack these key accessories:
- UV filters for lens protection
- Cleaning tools for dusty environments
- A comfortable camera strap for extended shooting
- A weather-resistant camera bag
Note that image stabilization, either in-lens or in-body, improves your chances of getting sharp images by a lot, especially when photographing animals in low-light indoor exhibits.
Working Around Zoo Enclosures
Becoming skilled at zoo photography requires special techniques to work around enclosure barriers. Let me share some tried and tested methods that help capture clear, natural-looking images.
Zoo Photography: Dealing with glass reflections
Taking sharp images through glass enclosures needs careful attention. We positioned the lens as close to the glass as possible. I often press my lens hood right against the surface. This helps eliminate most reflections and glare. The stubborn reflections disappear when I wear dark clothing or use a black cloth to block extra light.
Here’s everything you need to know about shooting through glass:
- Clean the glass surface with a bandana before shooting
- Stand perpendicular to the glass to minimize distortion
- Turn off your flash to prevent bounce-back glare
- Use a polarizing filter in bright conditions
Shooting through wire mesh
You can make wire fences vanish from your images with the right camera settings and position. I set my aperture between f/2.8 and f/4, so it creates a shallow depth of field that blurs out the fence. The mesh becomes almost invisible when you move closer to it while keeping your subject at a distance.
Zoo Photography: Finding clear angles
The right shooting position makes all the difference between average and exceptional zoo photographs. I look for spots where the enclosure has natural openings or larger gaps. A few steps to either side can transform your composition by avoiding distracting elements like artificial rocks or background clutter.
Natural-looking images come from waiting for animals to move away from artificial elements. This patient approach, along with good positioning, helps create photographs that look like wildlife shots from natural habitats.
Best Times to Photograph Zoo Animals
Getting the timing right is vital to capture exceptional zoo photographs. My experience shows that planning around natural light and animal patterns makes a real difference.
Morning vs evening shots
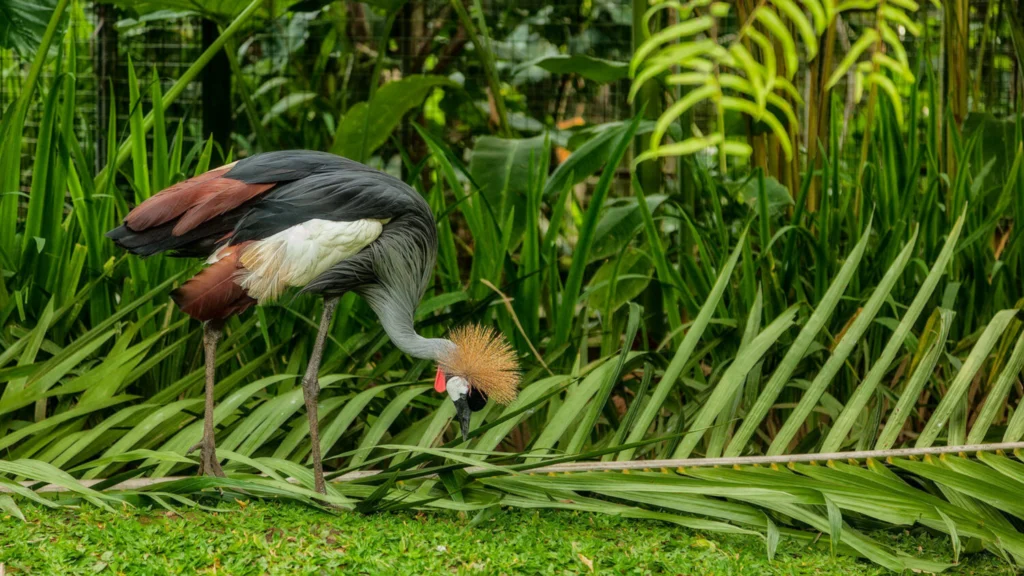
The early morning and late afternoon give you the best conditions for zoo photography. The soft, warm light during these golden hours creates flattering conditions that enhance animal portraits. The morning light produces crisp, cooler effects that work great for photographing birds starting their daily routines. The late afternoon light brings the warmest golden tones – perfect for capturing large predators.
Overcast days give you a great chance to take amazing zoo photos. The diffused light removes harsh shadows and lets you shoot well-exposed images from any angle. We avoided midday shoots because harsh sunlight creates strong shadows, and most animals take naps in shaded areas.
Feeding time opportunities
Feeding sessions are a chance to capture dynamic animal behavior. These moments need careful planning and preparation. The animals show their natural instincts during feeding, which creates chances for highly dynamic shots.
Here’s how to get the best feeding time photos:
- Look up scheduled feeding times on the zoo’s website
- Get your spot ready before feeding starts
- Capture the interactions between zookeepers and animals
- Plan your visit during off-peak dates like winter weekdays
Understanding animal patterns helps predict the best photo moments. Many species become more active right before feeding time, while others show unique behaviors during morning routines. This insight, paired with the right lighting conditions, helps create compelling zoo photographs that show these magnificent creatures at their finest moments.
Camera Settings for Zoo Photography Conditions
Camera settings form the foundation of exceptional zoo photographs. Learning these settings helps you overcome common challenges when capturing animals in different environments.
Shutter speed for moving animals
We used fast shutter speeds to freeze animal motion. You should start with 1/250th of a second for stationary subjects. To avoid blur, increase to 1/500s or 1/1000s for walking animals, and 1/2000s or higher for quick movements like birds in flight. You can also use Shutter Priority mode so your camera adjusts other settings automatically.
ISO settings for indoor exhibits
Indoor exhibits create lighting challenges that make understanding ISO significant. You should begin with ISO 100-400 in well-lit areas. Darker enclosures need ISO 800-1600, depending on your camera’s capabilities. Modern cameras handle higher ISOs well, but you must balance brightness and noise levels.
Focus modes that work best
Continuous Autofocus (AF-C) becomes your best tool to track moving subjects. Single-point autofocus works best when you target specific features, like an animal’s eyes. The silent shutter function improves tracking and prevents startling animals during key moments.
Zoo Photography: Exposure compensation tips
Exposure compensation handles tricky lighting situations well. Dark subjects need positive (+) compensation to show details. Bright subjects against dark backgrounds require negative (-) compensation. Start with -1.5 stops to maintain detail in highlighted areas.
These significant settings will help you:
- Set continuous shooting mode for action sequences
- Enable Auto ISO with minimum shutter speed limits
- Use back-button focusing to improve control
- Disable flash to avoid stressing animals
Conclusion
Zoo photography just needs patience, practice, and proper technique. You’ll see a major improvement in your images’ quality and impact once you master these fundamentals. My experience with countless zoo visits has taught me that great photos come from combining the right gear with optimal timing and technical knowledge.
A telephoto lens and some basic accessories will get you started. You can build expertise to handle enclosure challenges over time. The right timing and camera settings will help you create images that look like they were taken in the wild.
Each zoo visit gives you unique opportunities to learn and improve. The initial challenges fade when you capture perfect moments – a lion’s powerful gaze or a playful monkey’s acrobatics makes it all worthwhile.
Your photography practice should prioritize respect for the animals. Better results come from careful observation and patience rather than aggressively chasing the perfect shot. These techniques and insights will help you create stunning images that showcase these magnificent creatures naturally. Your zoo photography adventure starts her