
Cooking with children can sometimes feel daunting, especially when ovens, hot stoves, and sharp tools enter the picture. That’s why easy no-bake recipes for kids are such a powerful solution. They allow little ones to join in the fun and creativity with less risk, less waiting, and often fewer ingredients.
Through these simple desserts and snacks, children can learn measurement, textures, flavors, and confidence. In this article, you will find fresh, original ideas, safety tips, and ways to adapt no-bake treats for various diets, all while keeping the process fun and educational.
Delightful No-Bake Treats Kids Can Make Today
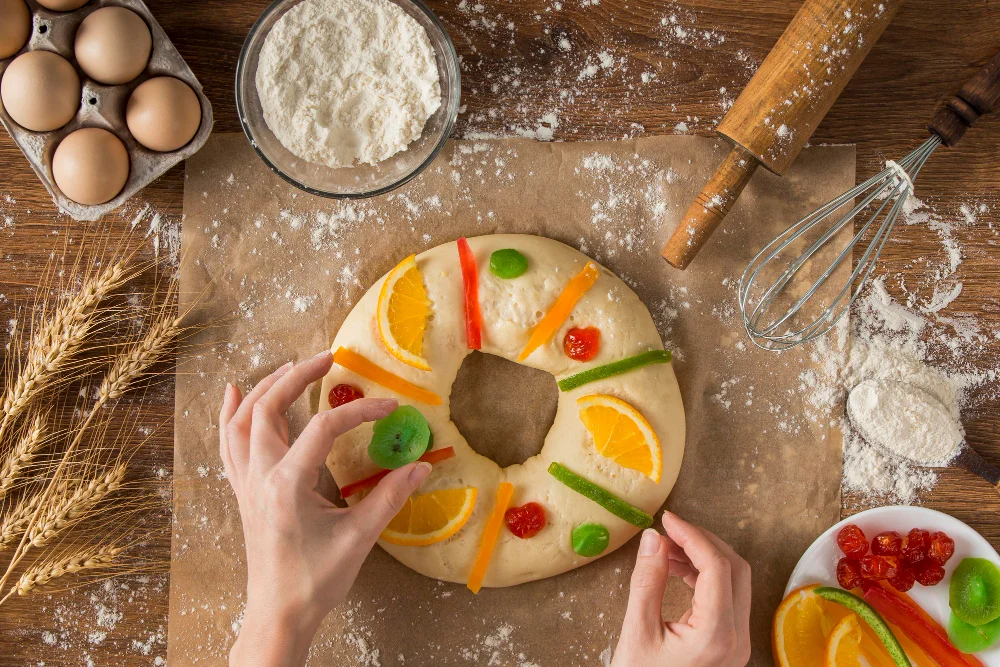
If you’re looking for fun, tasty, and easy no-bake recipes for kids, you’re in the right place! These recipes are perfect for busy parents and creative little chefs who want to make sweet treats without using an oven. From chocolatey bites to fruity delights, no-bake recipes let children learn kitchen skills safely while having tons of fun.
The best part? These desserts require only a few simple ingredients and can be ready in minutes no heat, no hassle! Whether it’s a rainy day activity, a weekend snack, or a birthday party idea, these no-bake treats inspire creativity, encourage teamwork, and keep the kitchen cool and mess-free.
No-Bake Chocolate Oat Bars: Easy No Bake Recipes for Kids
This is a classic favourite, chewy, chocolatey, and healthy-ish.
Ingredients typically include rolled oats, natural peanut butter (or substitute), cocoa powder, honey or maple syrup, and a little milk (or non-dairy milk) to bind.
Kids can help measure and pour the oats, cocoa, and peanut butter into a bowl. An adult warms the honey or syrup just enough to mix (e.g. in a microwave for 10–20 seconds). Then the mixture is pressed into a small lined pan and chilled until firm. Once set, cut into bars and serve.
List of variation ideas: Easy No Bake Recipes for Kids
-
Use almond butter or sunflower seed butter instead of peanut butter (for nut-allergy safety).
-
Mix in dried fruit (raisins, cranberries) or chopped nuts for texture.
-
Top with a drizzle of melted chocolate or a sprinkle of shredded coconut.
-
Swap part of the oats for puffed rice cereal to lighten the texture.
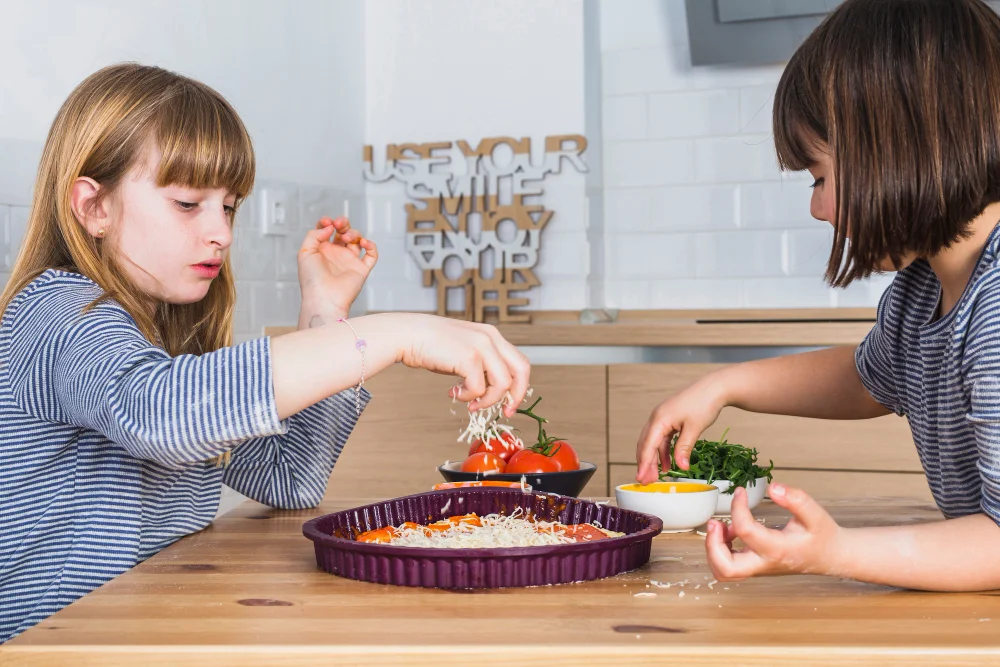
Fruity Yogurt Parfait Cups: Easy No Bake Recipes for Kids
This is creamy, fresh, and versatile, plus kids love layering the colours.
Ingredients: plain or flavoured yoghurt, fresh fruits (berries, banana slices, mango), granola or crushed biscuits, honey (optional).
Children can help spoon yoghurt into clear cups, layer sliced fruit, and sprinkle granola or crushed biscuits on top. Drizzle honey or a little fruit puree between layers. Chill briefly in fridge if desired, but these can be served immediately.
Tips for Making the Perfect Fruity Yoghurt Parfait Cups
-
Use Greek yoghurt or plant-based yoghurt, depending on dietary needs.
-
Alternate vibrant layers (e.g. strawberry, kiwi, mango) for visual appeal.
-
Add chia seeds or flaxseed to boost nutrition.
-
Let kids name their parfait (e.g., “Rainbow Crunch Cup”) to add excitement.
Safety, Tools & Tips to Guide Little Helpers
Even though these recipes avoid ovens and stovetops, adult supervision is still crucial, especially when melting chocolate or heating syrup. Ensure work surfaces are clean, have all ingredients measured ahead, and provide child-friendly tools (small spatulas, silicone bowls, plastic measuring cups).
Teach kids basic hygiene (wash hands, tie back hair) and safe habits (e.g., stirring away from edges). Setting up all ingredients in small bowls (“mise en place”) helps reduce spills and confusion.
1. Use Silicone or Parchment Paper for Easy Cleanup
When making easy no-bake recipes for kids, one of the best time-savers is lining pans with silicone mats or parchment paper. This prevents sticky messes and makes cleanup a breeze, no scrubbing or soaking required. It’s invaluable for recipes involving melted chocolate or gooey layers, allowing treats to lift out smoothly without breaking.
2. Melt Ingredients in Short Microwave Bursts
When melting chocolate, marshmallows, or butter for kid-friendly recipes, always use short microwave bursts of 10–20 seconds. Stir between each burst to distribute heat evenly and prevent scorching. This not only keeps your ingredients smooth but also teaches kids the importance of patience and precision in cooking.
3. Encourage Small Tastes for Better Sweetness Control
Tasting is one of the joys of cooking, but kids often go overboard with spoonfuls. Instead, guide them to take small bites to test the flavour and sweetness. This mindful approach helps them understand balance in dessert,s how a little sweetness can go a long way.
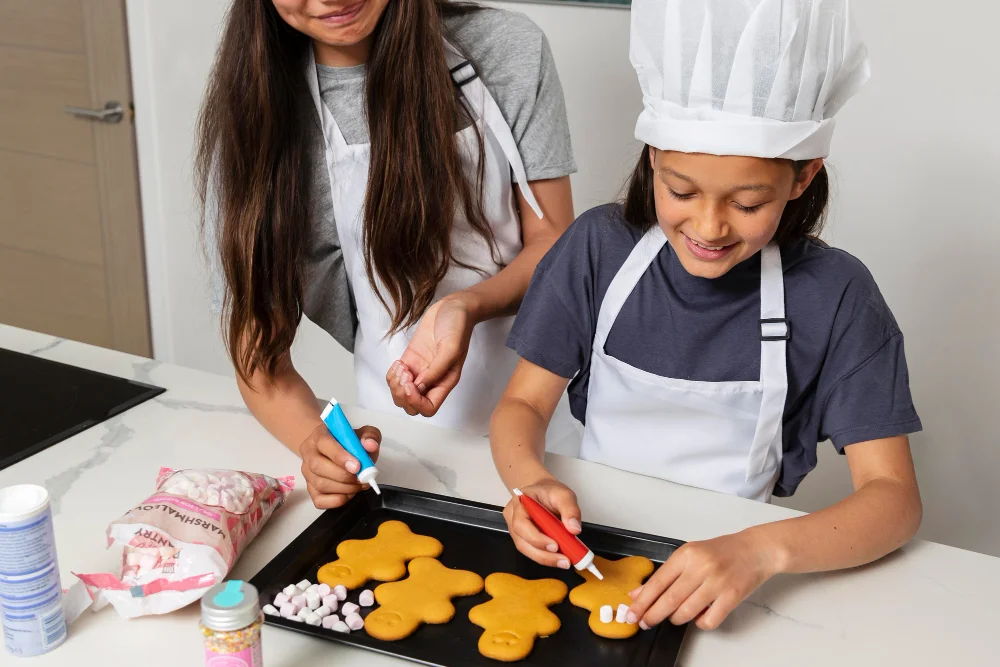
4. Divide the Work into Simple Stages
For maximum safety and engagement, divide the no-bake process into clear stages. Kids can handle fun, low-risk tasks like mixing, layering, or decorating, while adults take on heating, melting, or cutting duties. This teamwork not only ensures safety but also builds confidence in young cooks.
How to Adapt & Customize for Diets and Preferences
Most no-bake recipes are naturally flexible. For gluten-free versions, use certified gluten-free oats or substitute crushed gluten-free biscuits. For dairy-free or vegan adaptations, choose plant-based yogurts, coconut cream, or dairy-free chocolate. When avoiding nuts, swap nut butters with sunflower seed butter or tahini.
For lower sugar, reduce the sweetener and rely more on fruit puree or mashed banana. The core textures and binding mechanisms remain, so children can still participate fully, just like when preparing healthy chicken breast recipes that focus on balanced ingredients and simple cooking methods.
Encourage kids to help with substitutions and experimentation. Ask, “What if we use mashed banana instead of syrup?” or “Can we try mixing spinach puree into the base?” This makes the kitchen more inclusive and builds problem-solving skills, curiosity about ingredients, and confidence in their own decisions. Over time, they’ll learn that recipes are guides, not rigid rules.
Creative Packaging, Serving & Presentation
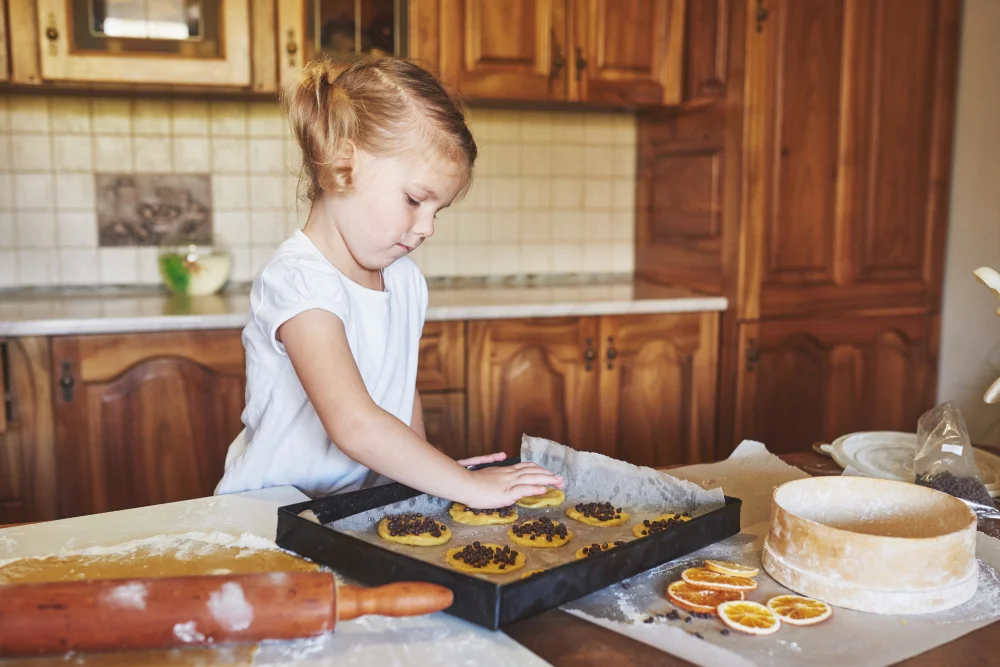
Once your treats are ready, how you present them makes a difference, especially to children.
Turning your no-bake snacks into mini “gifts” or party treats boosts the excitement. Use small clear cups, cupcake liners, colourful jars, or mini parchment-wrapped bars. Kids love to decorate their treats with sprinkles, fruit slices, or fun names. You can also freeze some treats (e.g., yoghurt bark, frozen parfaits) and serve them cold as frozen desserts.
Serving ideas:
-
Use popsicle sticks or skewers in bars to make handheld pops.
-
Pack in small reusable containers for school or outings.
-
Serve with a side of fresh fruit slices for balance.
-
Label each treat with your child’s name or fun theme (e.g., “Jungle Bites,” “Galaxy Cups”).
The Learning Behind the Fun: Easy No Bake Recipes for Kids
When kids help make no-bake treats, they are naturally developing STEM skills by measuring ingredients, practising math, and working with fractions. Observing how melted chocolate or syrup solidifies introduces states of matter (liquid ↔ solid). Choosing ingredient swaps encourages hypothesis and experimentation.
Making no-bake snacks also nurtures life skills: following sequential steps, patience (waiting while chilling), creativity in flavour/decoration, decision-making, and safety awareness. These are real-world skills with lifelong value.
Ways to expand the learning:
-
Ask open-ended questions: “What if we use more oats? Will it bind?”
-
Let kids predict texture changes (before vs. after chilling).
-
Encourage journaling: they can draw or write steps and observations.
-
Connect ingredients to science: why does cold make the dessert firm?
-
Invite them to name and “market” their treat (role-play as chef/entrepreneur).
Conclusion: Easy No Bake Recipes for Kids
Making easy no-bake recipes for kids is more than a shortcut; it’s a gateway to confidence, curiosity, and connection. You’ve seen recipes that require minimal heat or risk, ways to adapt for various diets, and how to frame the process as playful learning.
The next time your child asks for something sweet, you’ll have fresh, fun ideas ready to go. Let creativity lead: let them pick mix-ins, colours, or names. The results may not always be perfect, but the experience, the memories, and the skills built will be priceless.
Try one recipe this week, invite your child to be your “co-chef,” and watch how their pride and curiosity grow. And when they ask, “What can we make next?”, you’ll already have dozens more ideas to explore.