The perfect acrylic and liquid ratio makes the difference between beautiful, long-lasting nails and a failed application that can get pricey. A mixture that’s too dry won’t bind properly to the nail. Too wet, and it won’t mold correctly – you could waste $30-$100 on a full set.
Beautiful acrylic nails come from combining a liquid monomer with polymer powder beads to create a durable coating. The right consistency needs precise measurements and technique.
Safety remains paramount since the FDA has banned certain monomer formulations. Understanding proper mixing ratios is a vital part of the process.
This piece will show you everything about perfecting your acrylic mixture. You’ll learn to spot common ratio mistakes and become skilled at achieving the ideal consistency for salon-worthy results.
Common Signs Your Acrylic Ratio is Wrong
You can save your nail application from disaster by spotting the wrong acrylic and liquid ratios early. These warning signs will help you prevent weak structures that damage natural nails and brushes.
Acrylic and Liquid: Mixture too wet and runny
A mixture that’s too wet creates a weak, runny structure you can’t control. The bead loses shape right after placement and flows across the nail without control. Too much monomer can flood around cuticles and create weak nail structures that lift and break easily.
Powder clumping or too dry
Not enough liquid monomer makes the mix powdery with a snowball-like texture that’s hard to work with. The mix becomes heavy and chalky and won’t spread evenly.
The dry mixture can ruin your brush when it hardens deep in the bristles. A proper liquid-to-powder ratio should be 1.5 to 1 respectively.
Uneven texture after application
The texture problems show up in several ways:
- Bubbling: Wet mixtures create tiny bubbles that grow bigger over time
- Surface irregularities: Bad consistency creates ridges and bumps
- Thickness variations: The product needs to be thin near the cuticles and get thicker toward the middle
These texture problems aren’t just about looks – they can weaken your enhancement. Uneven application often happens because you press too hard during placement instead of letting the product settle naturally.
The perfect mix looks like textured glass at first and keeps its shape while you can still work with it.
The right pressing and smoothing techniques get rid of bubbles and make sure the product touches the natural nail plate completely. A well-mixed bead should be just right – think of damp hair fresh from the shower.
Understanding Acrylic Liquid and Powder Basics
The chemistry behind acrylic nails is the foundation of nail enhancements that work. Nail technicians can create stronger and more beautiful sets by understanding these simple concepts.
What is acrylic liquid made of
Ethyl methacrylate (EMA) serves as the main component in acrylic liquid and creates a bonding agent that works safely. The liquid has cross-linking monomers such as dimethacrylate or trimethacrylate to make the formula stronger. Catalysts control the polymerization speed while UV inhibitors prevent yellowing.
The FDA banned products that contain 100% methyl methacrylate (MMA) because of injuries. Professional-grade liquids now use EMA-based formulations to provide better adhesion without harming nail health.
Acrylic and Liquid: Types of acrylic powder
Acrylic powder creates chains that result in a hard, durable covering through polymerized monomers – molecules that join together. Different manufacturers use varying powder compositions that usually have:
- Core powders – Build nail structure and provide strength
- Cover powders – Create opaque coverage
- Specialty powders – Include glitter or color-changing varieties
Each powder type has specific ingredients that optimize performance. The powder has polymer beads coated with initiators like benzoyl peroxide that trigger the hardening process when mixed with liquid monomer. These beads contain pigments for color and silica to maintain proper flow.
The sort of thing I love is the chemical reaction between liquid and powder. The initiator in the powder responds to heat from the atmosphere or nail bed and starts the polymerization process.
This reaction turns the mixture from a workable bead into a solid enhancement. The catalyst in the liquid manages this process to ensure proper timing for application and shaping.
Professional-grade powders are a great way to get better fusion onto nails with minimal air bubbles. Quality formulations also provide more flexibility that reduces breakage risk and filing time. Understanding powder types helps nail technicians achieve their desired results.
The Perfect Ratio: Step-by-Step Guide
Becoming skilled at mixing acrylics needs precise technique and attention to detail. Here’s a step-by-step process that will help you achieve consistent results.
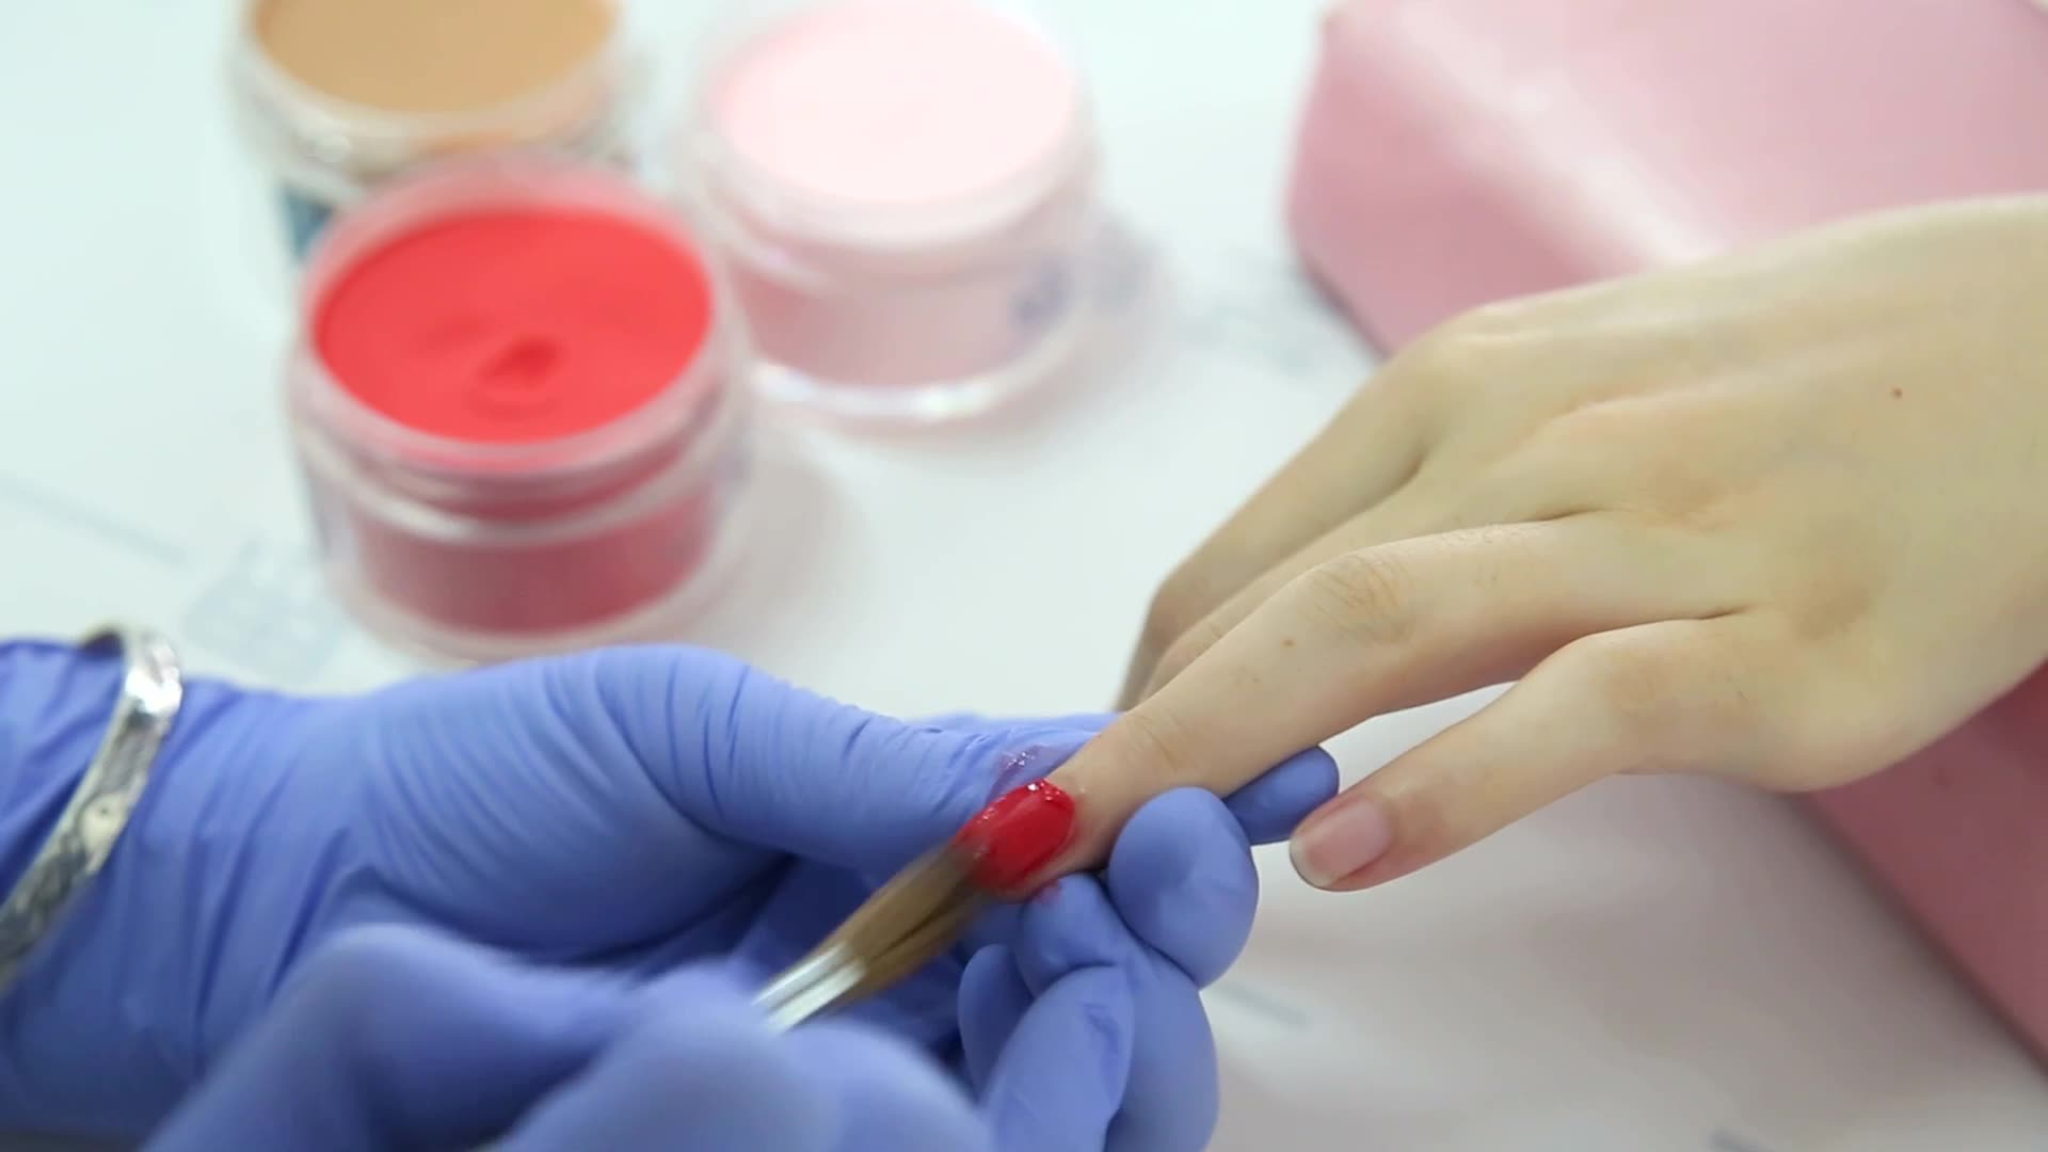
Acrylic and Liquid: Proper brush saturation technique
Press your brush against your dappen dish’s bottom to remove air bubbles. Next, wipe one side of the brush on the dish rim to control the liquid amount – this affects your bead size. You can wipe only one side for larger beads or both sides for smaller ones.
Beginners should use a size 6 or 8 brush to control monomer pickup and create perfect beads. Hold your brush at a 45-degree angle to dip into the powder, letting only the tip make contact.
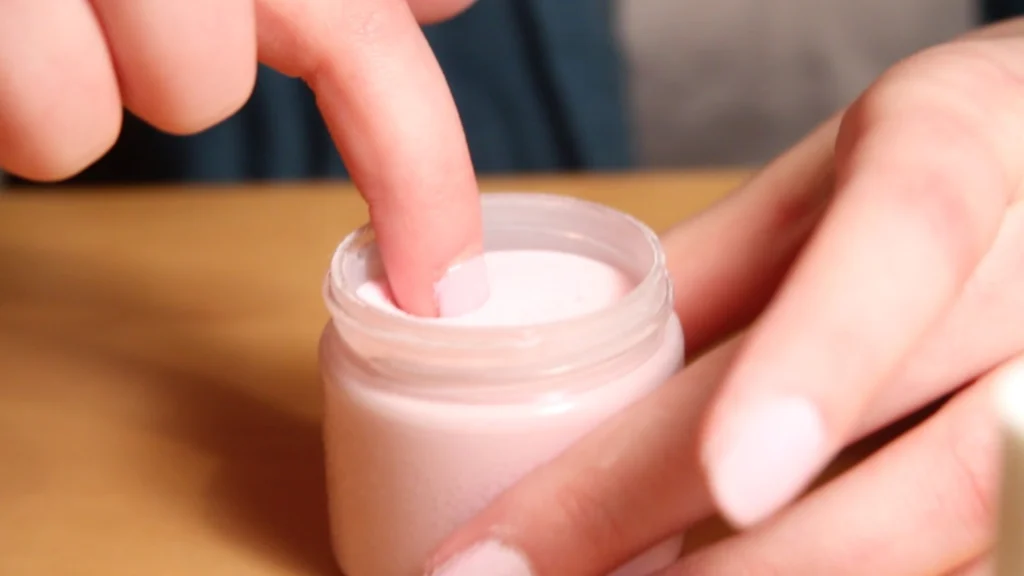
Bead formation tips
The ideal liquid-to-powder ratio falls between 1.5:1 and 2:1. Your bead should feel like mayonnaise – movable but not runny. Place a bead on a tip to test consistency – it should flow slowly after 10-15 seconds without flattening or creating liquid pools.
To get the best results:
- Press the brush firmly into the powder and move backward three times
- Apply the first bead ⅔ down the nail’s center
- Pat gently on the outer edges before moving the product to the center
- Add minimal monomer to wet the nail before applying more beads
Working time indicators
Your powder type and environment affect the working time. A bead with proper consistency keeps its shape while staying workable. The liquid rises to the surface after placement, which indicates it’s ready to shape.
Crystallization on the finished overlay shows your mixture is too wet. Clean your brush between strokes to prevent product buildup and keep application consistent.
Without a doubt, you’ll develop proper timing with practice, and you’ll know the right consistency when the bead leaves the brush easily without dripping.
Note that you should tilt the nail downward during application to stop cuticle flooding. The product’s texture should gradually stiffen as you work, needing more pressure to move and shape.
Environmental Factors Affecting Your Mix
Environmental conditions are the foundations of how acrylic liquid and powder work together. You need to understand these factors to get consistent, professional results anywhere.
Temperature impact
The ideal temperature for working with acrylic sits between 74°F – 75°F. Temperature changes affect curing times – warm conditions speed things up, while cooler temps slow them down. Salons often struggle to keep temperatures steady, but it’s vital for reliable results.
Products take longer than air to adjust to room temperature. Your climate control settings from the night before will affect how products work the next day. The best results come when your salon’s temperature stays steady all year, especially during business hours.
Humidity levels
Humidity affects acrylic application quality by a lot. Many people think moisture leads to lifting, but evidence shows something different. Summer activities like swimming and gardening cause more adhesion problems than humidity.
Your salon should keep relative humidity between 32-53%. Different regions have their climate patterns, so technicians need to adjust their methods. Learning about your local weather helps you plan for challenges and adapt your technique.
Storage conditions
The right storage makes a big difference in how long products last and how well they work. Here’s what you should do:
- Keep products standing up in their original containers to avoid leaks
- Store materials away from sunlight and heat
- Keep nail polish and related items between 60° to 72°F
- Never heat products in the microwave
Acrylic monomer needs extra care and lasts 12-18 months in normal conditions. Refrigeration can make it last over three years, but let it warm up to room temperature before you use it.
Seasonal changes won’t affect your results as much if you give clients warm tea in winter or cold water in summer. This simple trick helps keep hand temperature steady for more predictable curing times. Some nail techs put their dappen dish in warm water to slowly adjust the liquid temperature.
Products need more time than air to reach the right temperature. If your salon has big temperature swings, give your products time to stabilize before using them. This patience helps avoid unreliable set times and application problems.
Pro Tips for Consistent Results
Your success with acrylic nails relies on good tool care and the right environment. These expert tips will help you get consistent results with all your applications.
Brush maintenance
Quality acrylic brushes cost a lot, so taking good care of them is vital for long-term use. We cleaned our brushes before, during, and after each use to stop product buildup.
The right cleaning method uses gentle techniques because harsh scrubbing will damage the bristles and reduce your brush’s lifespan.
The best ways to care for your brush:
- Clean with liquid monomer instead of acetone which dries out bristles
- Store brushes flat to avoid moisture damage
- Use fresh monomer to recondition bristles after deep cleaning
- Keep brushes covered when not in use
Brushes sometimes get stubborn product buildup. The solution is to soak your brush in clean monomer for several hours. This lets the product dissolve naturally.
Make sure to hold the brush at an angle during soaking to keep the bristle shape.
Acrylic and Liquid: Product temperature control
The right temperature is a vital part of consistent acrylic application. You want your workspace at 74°F-75°F (23°C-24°C). Many nail techs don’t realize how temperature affects their product performance, but even a single-degree change can shift curing times.
Expert techniques can help you control temperature reliably. Put your dappen dish in warm water to adjust the liquid temperature gently. Products need more time than air to reach the best temperature, so give them enough time to adjust before use.
Seasons bring special challenges. Cold slows down polymerization while heat speeds it up. The solution is to keep your salon temperature steady all year. Your clients’ comfort matters too – hot tea in winter or cold water in summer helps keep their hand temperature just right.
Keep in mind that storage affects how well your products work. Store materials away from sunlight at temperatures between 60°F-72°F (15°C-22°C). Never try to microwave products to adjust their temperature.
Well-maintained brushes can last over five years. This long life comes from steady care and proper storage. By doing this maintenance and following temperature guidelines, you’ll get more predictable results and make your professional tools last longer.
Conclusion
Getting the perfect acrylic and liquid ratio will take attention to detail, proper technique, and a good grasp of environmental factors.
The ideal 1.5:1 to 2:1 ratio might look tricky at first, but you’ll get better results as you practice and watch your mixture’s consistency.
Temperature and humidity affect your results by a lot. You’ll get predictable curing times and the best product performance when you manage to keep your workspace between 74°F-75°F.
Quality tools, especially brushes that are well taken care of, are the foundations of beautiful, long-lasting enhancements.
Beautiful professional results come from knowing both the science and art behind the acrylic application. Your mixture works well when you see proper bead formation, good working time, and the right texture.
You’ll create stronger, more beautiful nail enhancements that make clients happy and last longer with consistent practice and careful attention to these details.